
Learning how to use Dux-Soup is a bit like learning to drive a 2015 pickup truck: the controls aren't pretty, nothing is where a modern app would put it — and once it clicks, the thing hauls.
The dated interface is the #1 complaint in every review, and it scares off beginners in the first hour. This tutorial exists to get you through that hour. Seven steps, one working drip campaign, under 30 minutes.
Key Takeaways
- Setup path: install extension → configure safe limits → set the planner → build a campaign → enroll prospects
- Start conservative: ~100 profile visits and 5-10 connection requests per day for a fresh setup
- The 12-step drip campaign builder is Dux-Soup's core weapon — visit → connect → message → follow-up chains with custom delays
- Reply detection automatically pulls responders out of sequences, so follow-ups never embarrass you
Step 1: Install the Extension and Claim Your Trial
Head to the Chrome Web Store, search “Dux-Soup for LinkedIn Automation,” and install (4.8/5 rating, works on Chrome and Chromium browsers like Edge and Brave).
First install triggers a 14-day free trial of the Turbo tier automatically — no credit card. That matters: Turbo is the tier with drip campaigns and CRM integrations, so you're testing the real product, not a demo. (Details on what happens after day 14 in our dux-soup free trial guide.)
Log into LinkedIn in the same browser. The Dux-Soup icon appears in your toolbar — that dropdown is mission control for everything that follows.
Install Dux-Soup & Claim Your Free 14-Day Trial →Step 2: Configure Safety Limits Before Anything Else
Do not skip this. Out-of-the-box throttles are reasonable, but you should verify them before the robot touches your account.
Click the Dux icon → Options → Throttling. Set your daily ceilings:
- Profile visits: start at 100/day (Turbo users on aged accounts can ramp toward 200-500 later)
- Connection requests: 5-10/day to start — yes, really. LinkedIn's ~100/week cap punishes greed
- Direct messages (1st-degree): ~25/day to start
Ramp up gradually over 2-4 weeks, not overnight. The complete numbers by account age and plan — plus what to change after a LinkedIn warning — live in our dux-soup recommended settings guide. The 10-minute version of why these limits matter: is dux-soup safe.
Step 3: Set the Planner (Your Human Disguise)
Dux icon → Planner. Here you define when the robot works. Two rules:
- Match your real working hours — 9 a.m. to 6 p.m. in your timezone
- Leave gaps. A lunch break. An off afternoon. Humans are inconsistent; be inconsistent.
A robot that works 24/7 at perfect intervals is a confession. The planner is your alibi.
Step 4: Build Your First Drip Campaign
Dux-Dash (the web dashboard) → Campaigns → New Campaign. Name it after the persona you're targeting — “SaaS Founders – US” beats “Campaign 1” when you're running five of these.
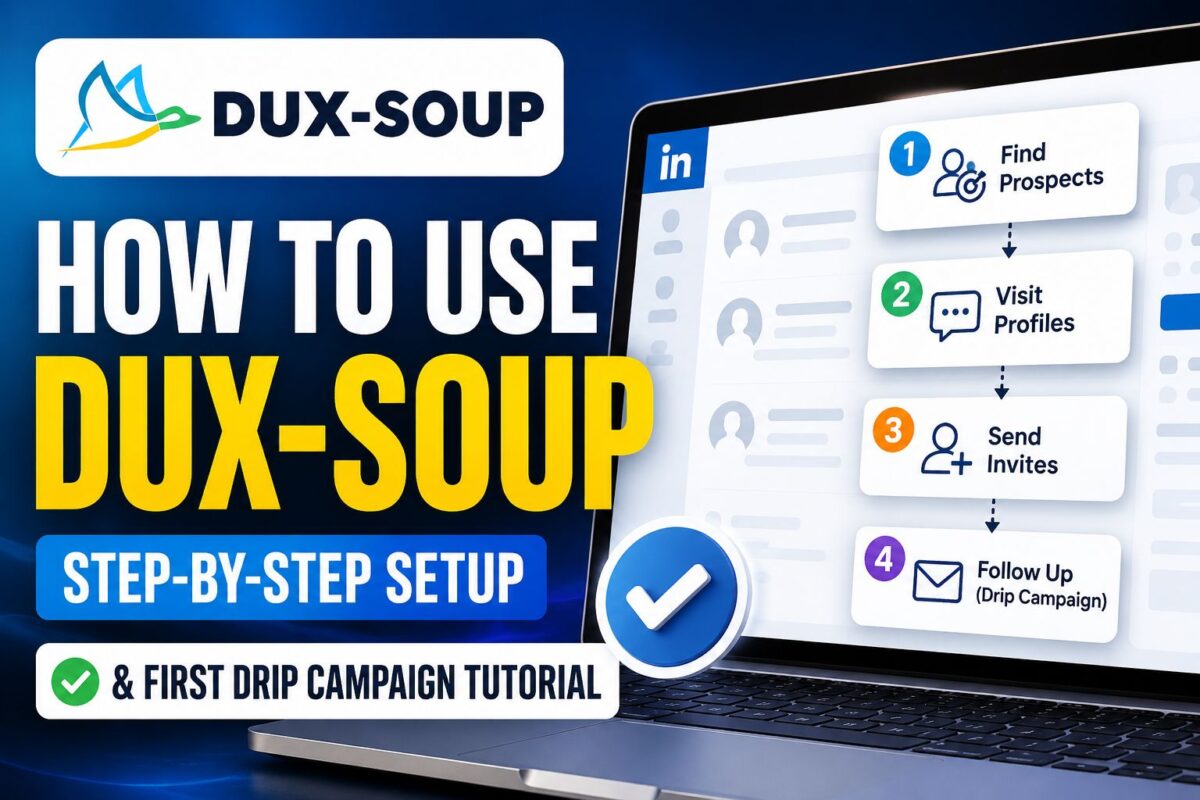
Now chain your actions. You get up to 12 steps; a proven starter sequence uses five:
- Visit + follow the profile (day 0) — warm the notification
- Connection request with a personalized note (day 1)
- Thank-you message immediately on accept
- Value follow-up 2-3 days later — share something useful, ask nothing
- Soft CTA 4-5 days after that — the meeting ask
Set custom delays between every step. Enable automatic reply detection — the moment a prospect responds, they exit the sequence and land in your pipeline. No “just bumping this!” sent to someone who answered yesterday.
Personalization placeholders (first name, company, etc.) go in every message. Templates without them read as spam, get reported as spam, and feed LinkedIn's detection model.
Step 5: Enroll Prospects
Three ways to feed the machine:
- LinkedIn search: run a filtered search (or Sales Navigator / Recruiter search), then Dux icon → enroll results into your campaign
- CSV import: got a list from a researcher or a VA? Import names, emails, or LinkedIn URLs directly
- Tags: auto-tag every lead by campaign so your lists stay sorted when you scale to multiple personas
Quality check before enrolling: would you accept this connection request if you were them? A tight 200-prospect list outperforms a lazy 2,000-prospect scrape every time. The tool amplifies your targeting — including bad targeting.
Step 6: Connect Your CRM (Turbo Feature)
If you run HubSpot, Salesforce, or Pipedrive, this is where Dux-Soup out-punches tools twice its price. Dux-Dash → Integrations → pick your CRM → authorize → toggle Enable.
From then on, responding leads flow into your CRM automatically with their LinkedIn data attached. Slack or MS Teams notifications are available too, so replies ping your channel in real time. Full walkthrough with field-mapping tips: dux-soup crm integrations.
Turbo Trial Includes Every CRM Integration — Connect Yours FreeStep 7: Launch, Then Read the Numbers
Hit start — and remember the browser rule: on Pro/Turbo plans, Chrome must stay open and your machine awake while the robot works. Closed laptop = paused campaign. (If that's a dealbreaker, that's exactly what the $99/mo Cloud plan solves — see the full dux-soup review for that trade-off.)
After the first week, open your campaign stats and check two numbers:
- Acceptance rate below ~25%? Your targeting or connection note is off. Rewrite the note first.
- Reply rate below ~10% on accepted connections? Your follow-up messages are the problem. More value, less pitch.
One experienced user's benchmark to aim at: 65%+ acceptance rates by focusing campaigns on active LinkedIn users only. Iterate weekly; kill losing templates without mercy.
Common Beginner Mistakes (Learn From Other People's Bans)
- Maxing limits on day one. The #1 cause of early warnings. Ramp. Slowly.
- Browsing LinkedIn while the robot runs. Two “yous” active at once is a detection gift. Phone included.
- Running a second automation tool on the same account. Never.
- Ignoring pending invites. Withdraw requests older than 2-3 weeks; hundreds of stale invites throttle you.
- Set-and-forget messaging. The tool automates delivery, not judgment. Review replies daily.
Frequently Asked Questions
How long does Dux-Soup take to set up?
About 30 minutes for install, safety configuration, and a first campaign — this tutorial's exact path. Budget another hour across your first week for learning Dux-Dash's quirks; the interface is dated and takes some clicking around.
Do I need to keep my computer on for Dux-Soup to work?
On Pro and Turbo plans, yes — the extension runs inside your open Chrome browser. The Cloud Dux plan ($99/month) runs campaigns on Dux-Soup's servers around the clock, no browser required.
Can Dux-Soup send follow-ups automatically?
Yes. Drip campaigns chain up to 12 actions with custom delays, and built-in reply detection removes anyone who responds so they never receive an automated follow-up afterward.
Does Dux-Soup work with Sales Navigator?
Yes — you can enroll prospects directly from Sales Navigator and Recruiter searches, which gives you far sharper targeting filters than regular LinkedIn search. Standard, Recruiter, Business, and Sales Navigator account types are supported.
Your First Campaign Checklist
Install → throttle limits set → planner on human hours → 5-step sequence with personalization → tight prospect list enrolled → CRM connected → launch → check acceptance and reply rates weekly.
That's genuinely all there is to how to use dux-soup — an ugly dashboard operating a very effective machine, now working your pipeline while you do literally anything else.
Launch Your First Campaign Today — Free 14-Day Trial →